Overview
The Ghost blogging platform has huge potential but requires some technical knowhow-we go through the steps to help you launch your blog into the DigitalOcean in 10 minutes or less.
Ghost is a blogging platform that promises to rewrite how blogs are run. It supports powerful features like node.js and has an excellent WYSIWYG editor that makes design and deployment a breeze. Setup is very fast, but can be tricky if you’re not a developer: it requires a bit of Linux terminal management, as well as DNS and SSH configuration. If that sounds scary, don’t worry: we’re going to go through it step-by-step and have your Ghost blog launched in no time. Some of the discussion may be a bit basic if you know what you’re doing, but I’m hoping that both experienced developers and total newbies will be able to follow this guide.
The Easy Stuff
Assuming you already own a domain, the first thing you need to do is set up a DigitalOcean account. They’re a server host and they aren’t your only choice but they’re my favourite: they’re quick, cheap, light, and easy to work with. Moreover, they have a 1-click Ghost installation that will make the process a breeze.
When you set up your DO account, you’ll be prompted to create a project. Projects are folders that let you organise multiple droplets (what DigitalOcean call a container) as well as things like DNS setups. Once you’ve done that, find Ghost in the marketplace and click Create Ghost Droplet. You’ll get an interface that looks like this:
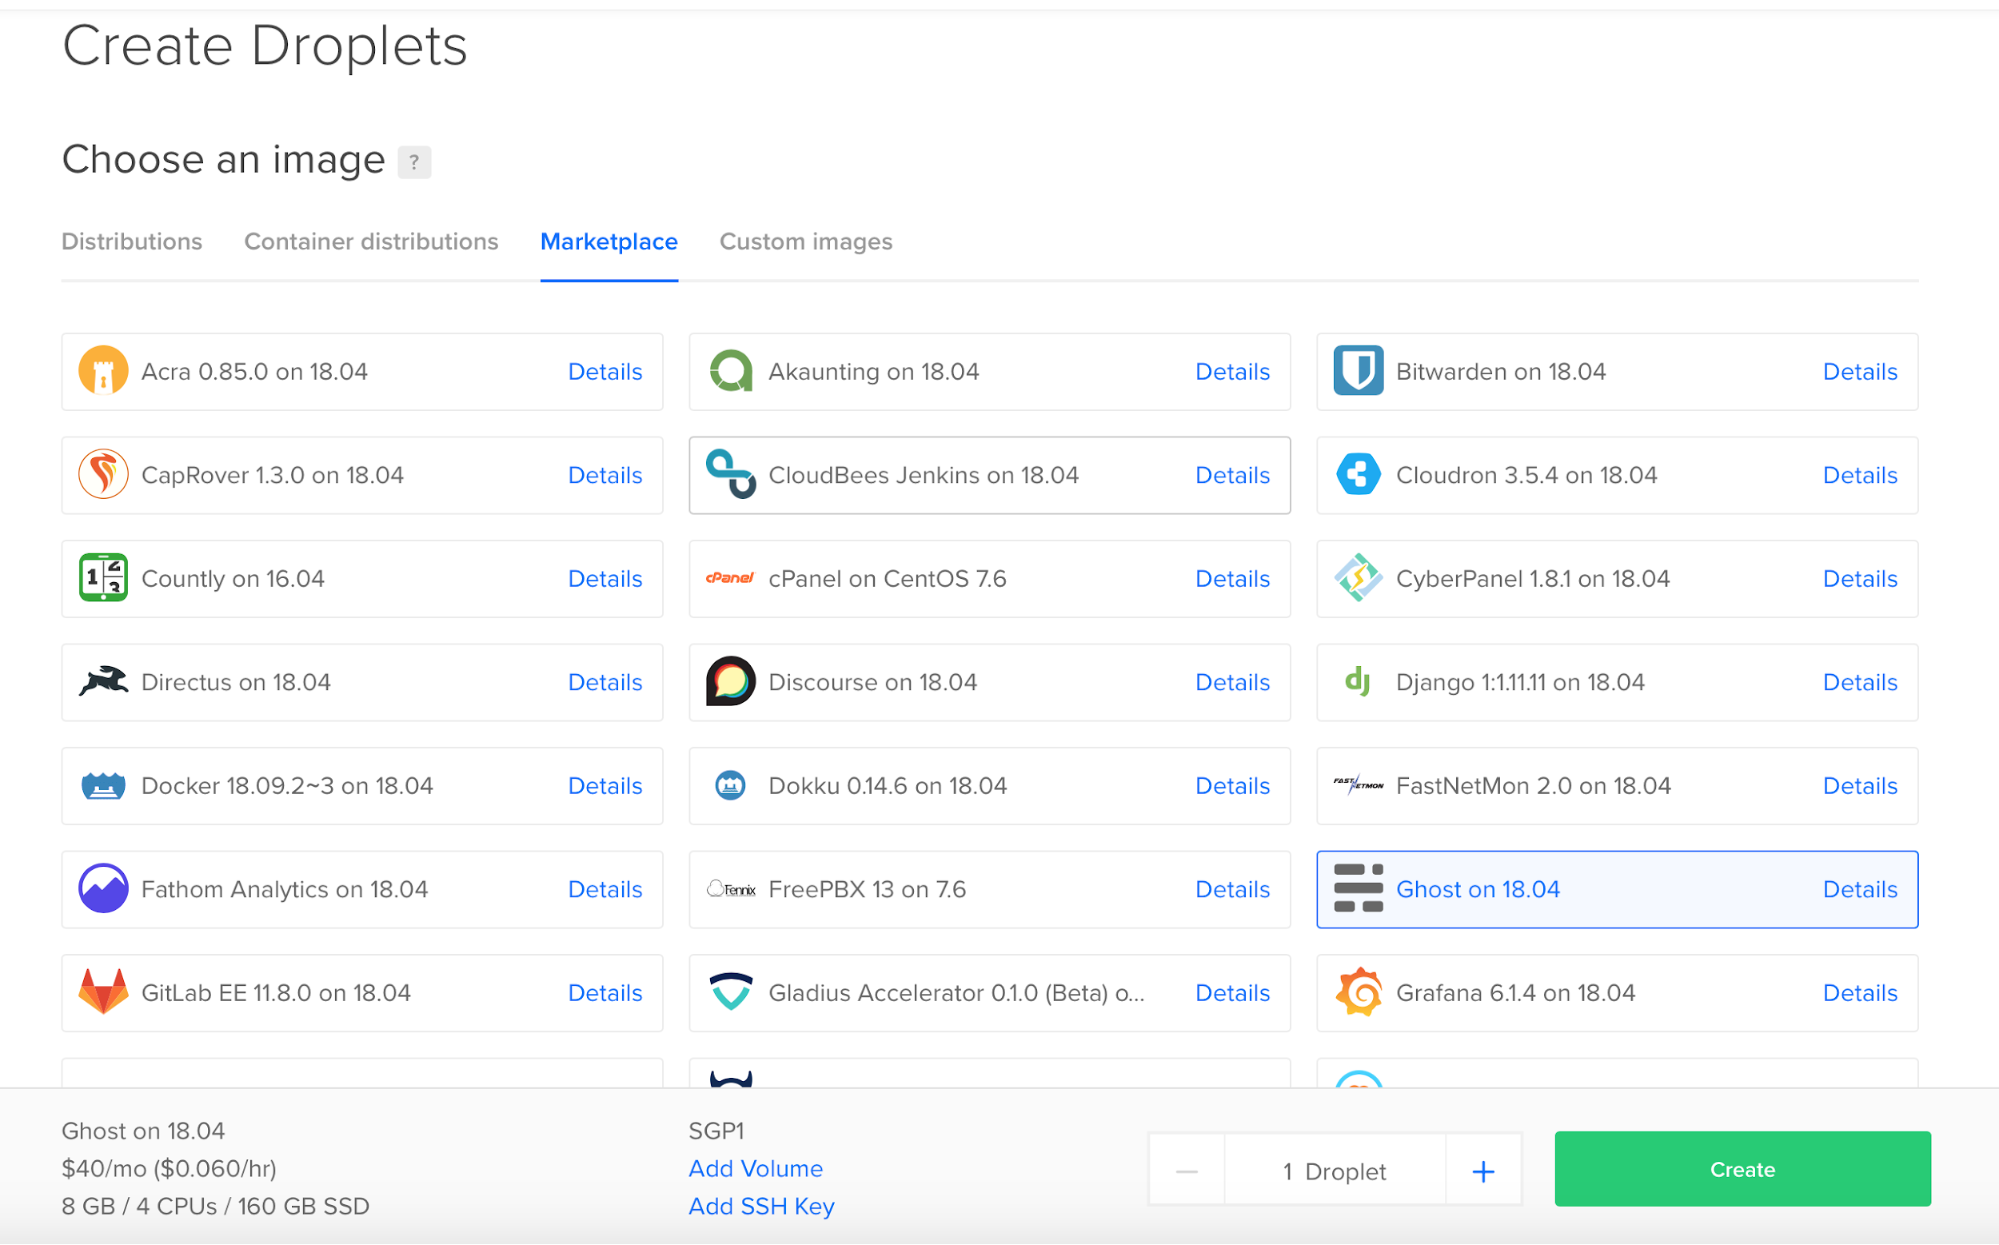
Ghost is already pre-select but don’t click Create yet! Scroll down and make sure you’ve selected the right pricing plan for you-$40/month is selected by default but there are options going as low as $5/month if you’re planning to run a smaller site.
.png?updated_at=2023-07-26T10:31:16.589Z)

This is also where you can add IPv6 and private network support, block storage, monitoring, and private networking, among other things.
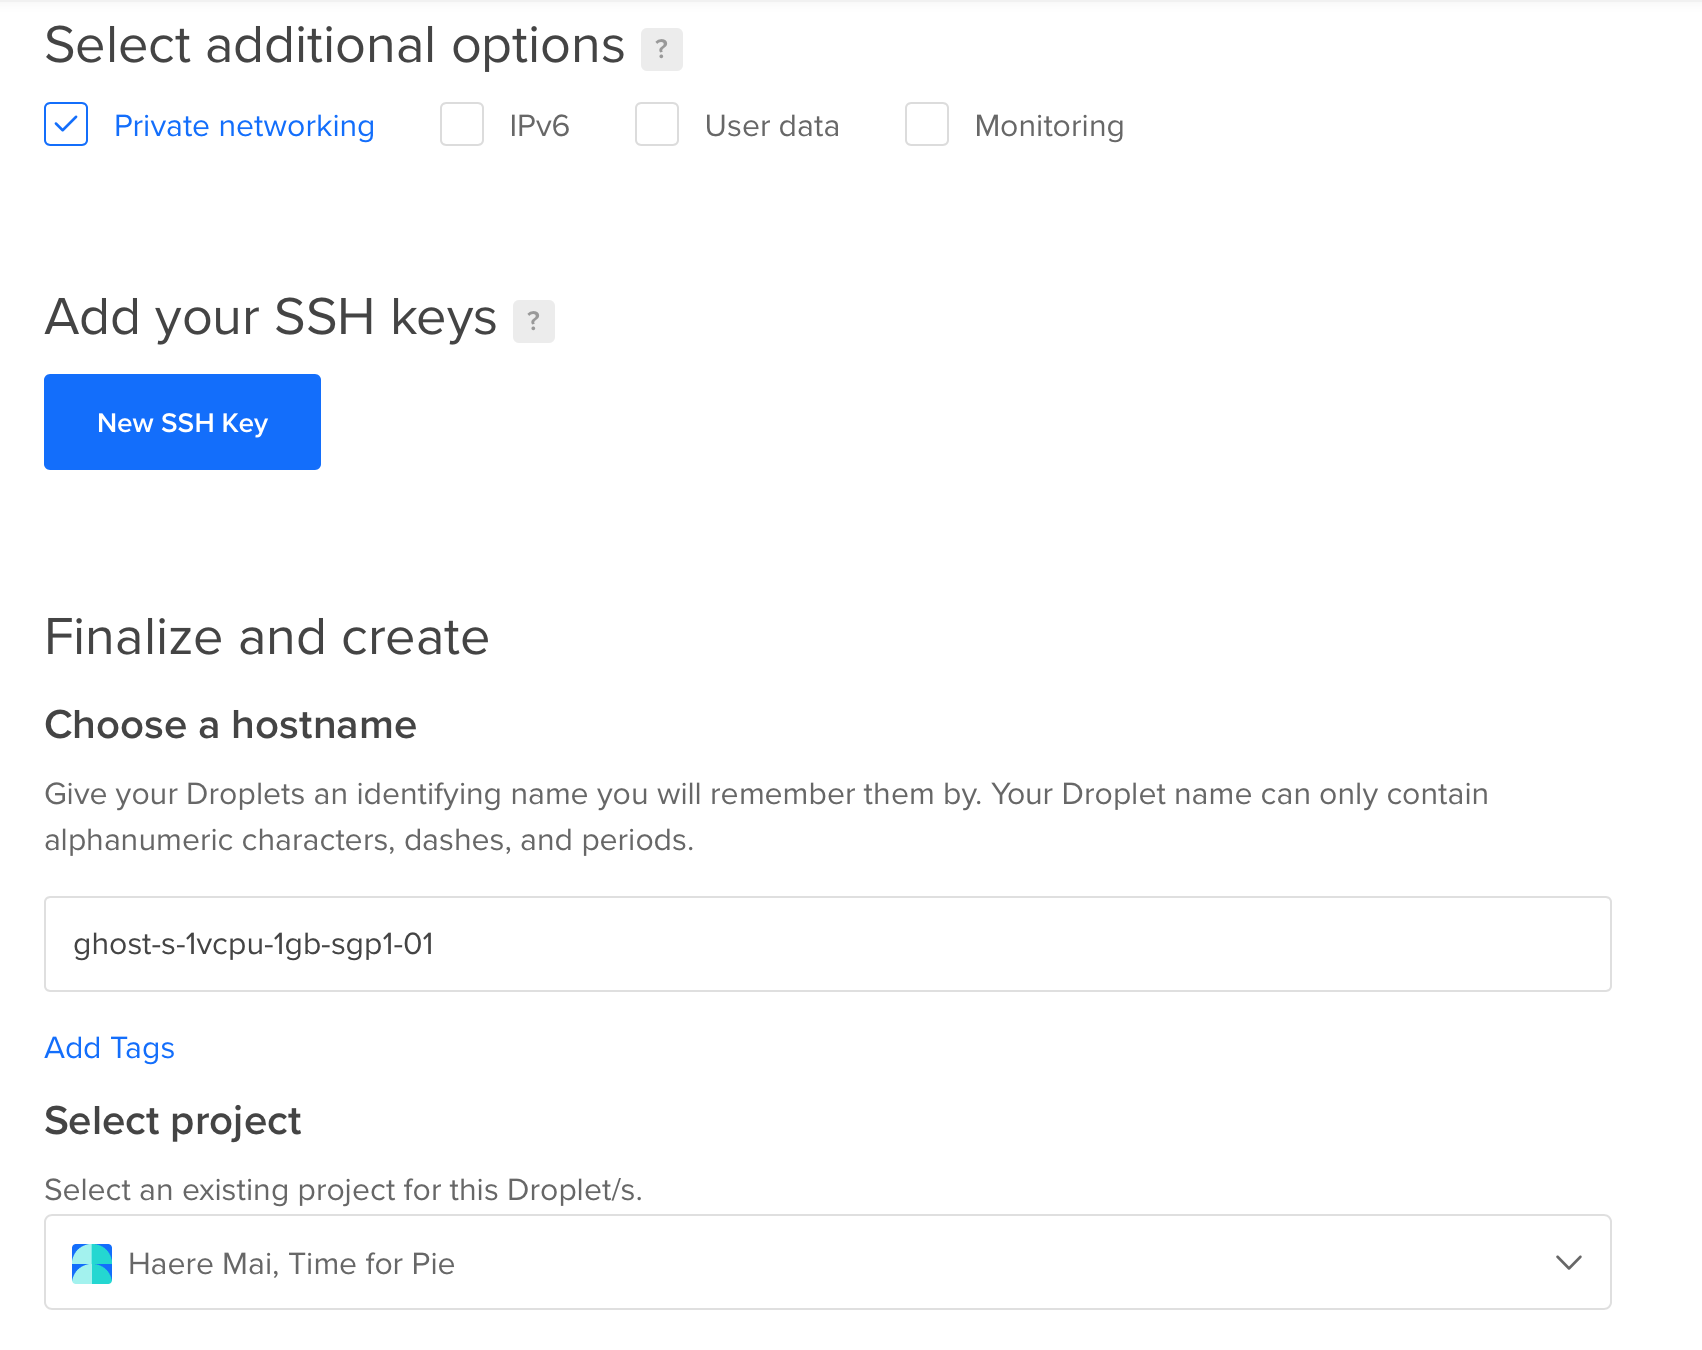
Once you’re sure you’ve got everything set up, click Create. It’ll take somewhere between 30 seconds to 2 minutes to spin up the droplet, and then the easy stuff is done. You’ll be emailed an IP address and password.
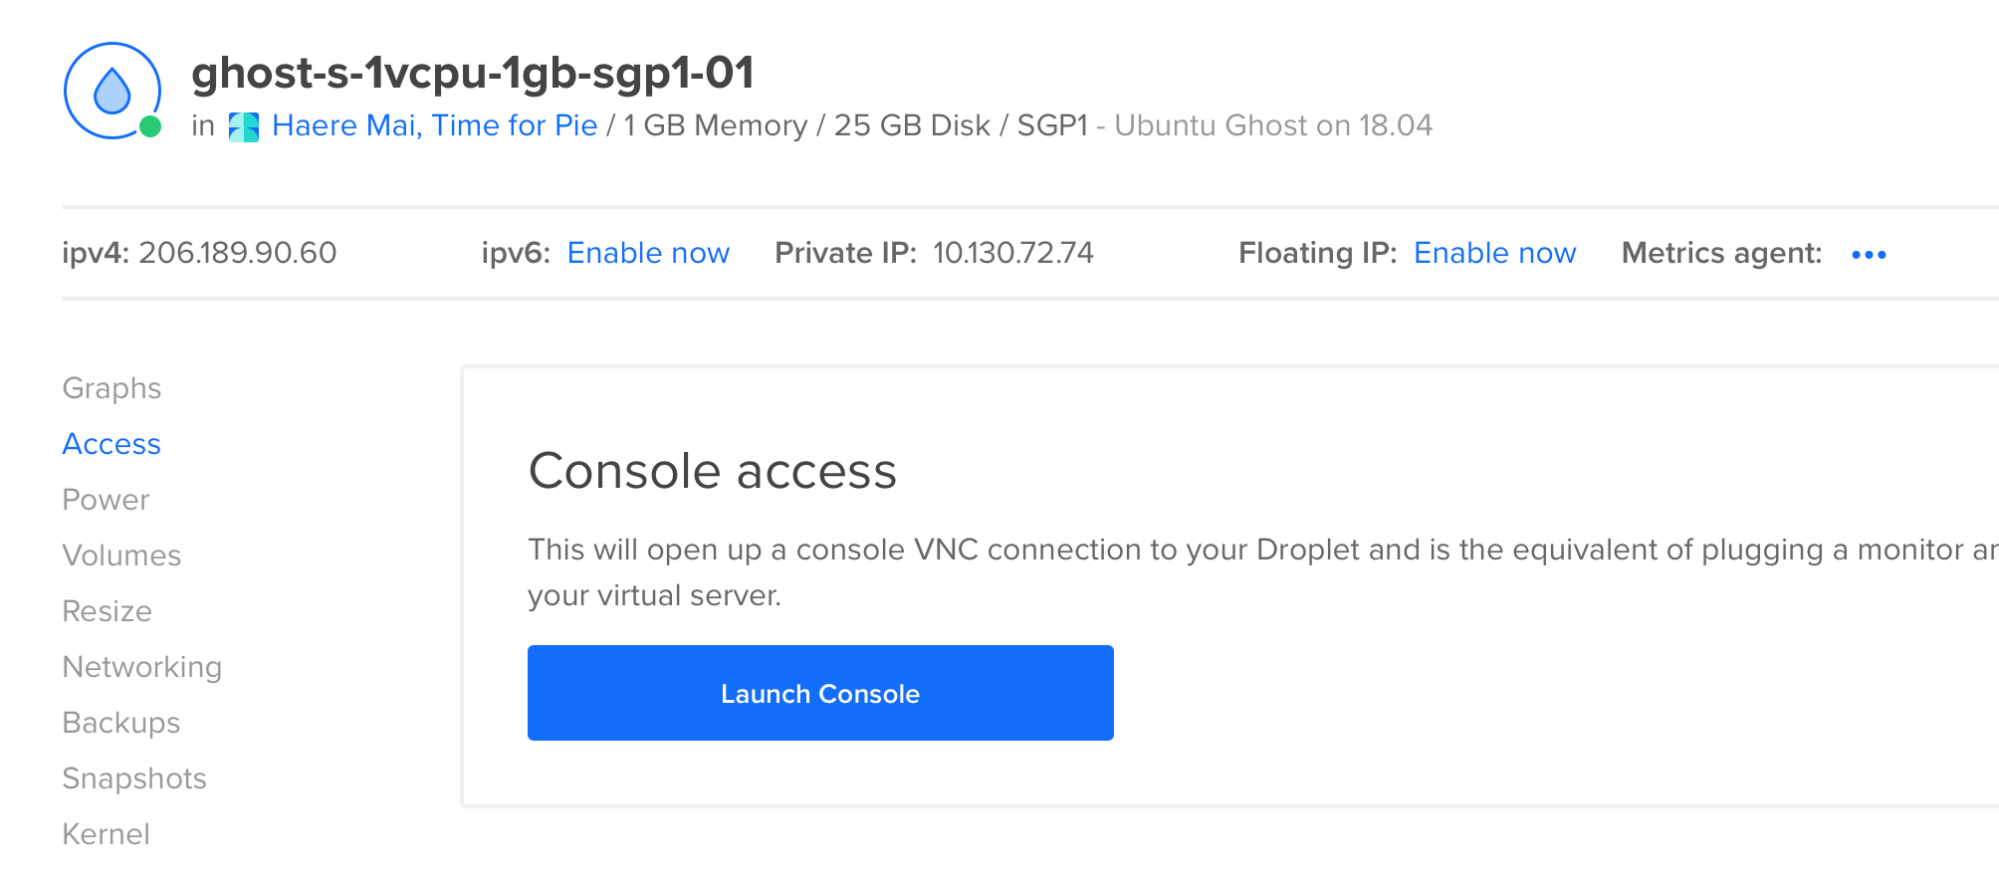
In DigitalOcean, click access, then launch console.
Log in as root using the password provided. You’ll be asked to set a new root password.
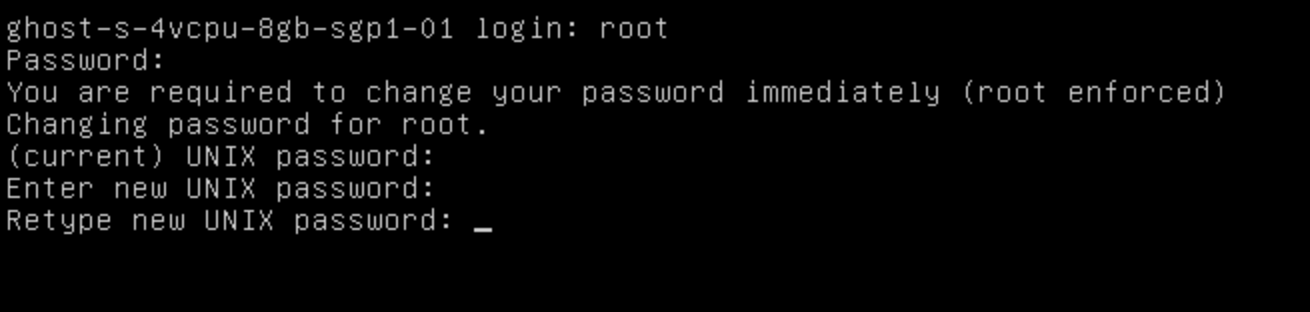
Once you’ve logged in, you’ll see this:
.png?updated_at=2023-07-26T10:31:12.788Z)
WAIT! Don’t push enter! Have you configured your DNS? If you have, skip this step. Otherwise…
Configuring your DNS
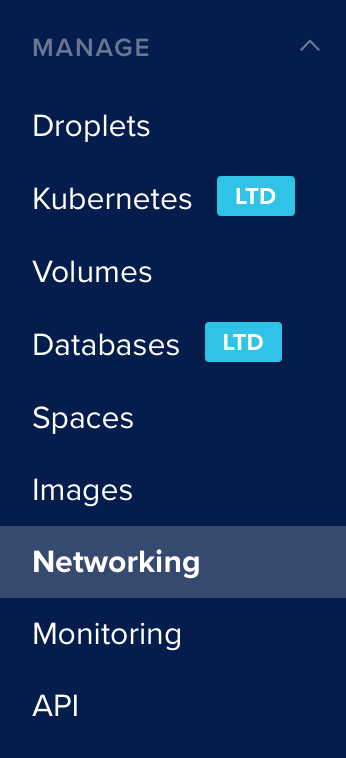
In DigitalOcean, click ‘Networking’ in the lefthand panel. There’s actually two ‘networking’ buttons in their UI, but you’re looking for this one.
You need to set A to your droplet, for which DO has a handy dropdown menu:
.png?updated_at=2023-07-26T10:31:11.977Z)
Then click CNAME and set hostname to www and ‘is an alias of’ to your URL. What this does is connects www.mycoolwebsite.com to mycoolwebsite.com so users can find it. Leave the TTL as you found it, and click Create Record.

(this is not a real site, by the way: every site in this article was spun up specifically for educational purposes and deleted afterward-don’t share private details of real sites!)
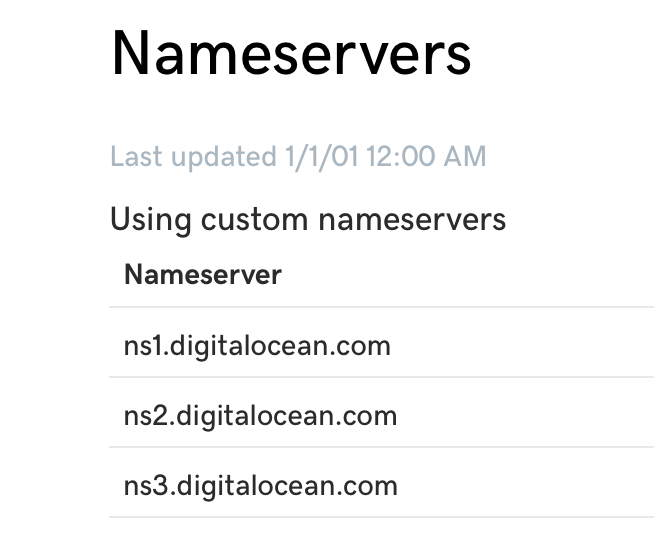
Then, go to your domain registrar and make sure the nameservers point home: ns1.digitalocean.com, ns2.digitalocean.com, and ns3.digitalocean.com. The interface will differ depending on your registrar. I’m using GoDaddy here, though I’d recommend you use Google Domains or Name.com.
It may be in your best interest to move to something likeCloudflare in the future for your DNS, which provides features like DDoS protections.
Moving on
Okay so your DNS is configured, great. As directed, hit enter and let Ghost do its thing: you don’t need to give it your IP/email yet. Once you hit enter, you’ll see this:
It might take a couple of minutes. Go get yourself a coffee. Once installation and coffee are done, you’ll be directed to input your site’s IP and your email address. Do both, wait for another few minutes while the server installs the rest of Ghost.
.png?updated_at=2023-07-26T10:31:13.993Z)
Now you’re really rolling. Into your browser’s search bar, type either [your URL]/ghost or [your IP]/ghost and you’ll be taken to this screen:
.png?updated_at=2023-07-26T10:31:34.072Z)
Which leads you to is a pretty simple account setup process you’ve done a million times before. Go through that and you’ll find yourself… finished! Easy as that. It’s not my first time doing this, but I ran a stopwatch and the whole process took just under 10 minutes, including a coffee break in the middle. Really, it’s closer to 4-5 minutes, less with practice.
But wait, there’s more! More to secure!
Your blog is live at this point and it’ll do the job. If you’re experimenting and plan to delete the site later, that’s fine. What I would highly recommend at this juncture, unless you want malicious folks from taking over your site and ruining all your hard work, is that you finish setting up your SSH.
For this, you need to go back into the Command Line. You can go back to the DO console but if you want to switch to accessing it over SSH via Terminal in Mac or Linux or Putty for Windows at this point, feel free. If you are using Putty, it will prompt you for the details. If you are using Terminal, Input the following, replacing our dummy site’s IP with your own site’s IP:
.png?updated_at=2023-07-26T10:31:07.817Z)
Then input the password you set earlier. This will let you access your site’s Linux terminal from any device, without having to go through DigitalOcean.
.png?updated_at=2023-07-26T10:31:08.985Z)
Ghost has a built-in manager account it wants you to use. To log in to it, input this string:
To be safe, you probably want to create a superuser on top of ghost-mgr; I’ve found ghost-mgr a little finicky to work with-it’s hard to change and doesn’t have the permissions it really should. I did the following as root or my superuser, not ghost-mgr, unless only ghost-mgr had permissions. This is how you create a superuser (insert your own name here):
.png?updated_at=2023-07-26T10:31:12.683Z)
Still as root, set a password for your new user, then write:
Which will make your new account an administrator. In future, you can SSH in as [yourname]@[yoursiteIP] e.g. [email protected]. Once you’ve set up your administrator, you probably want to turn off root access. Type the following:
.png?updated_at=2023-07-26T10:31:11.887Z)
That’ll put you into an editor called Vi. Some simple commands for Vi that you’ll need:
i = insert. This will activate the mode that lets you edit the file.
esc (the button) = leave insert mode
:w = save
:q = quit Vi
Go into insert mode and make the following change:
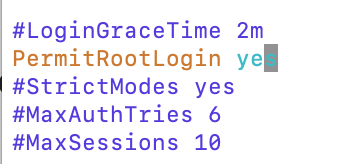
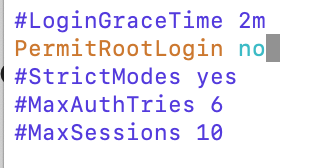
Warning: trying to save/quit in insert mode will not work, and may break things; be sure to hit esc before you try to enter commands. Save your changes and jump out of Vi, then input:
.png?updated_at=2023-07-26T10:31:07.086Z)
And that’s it! Your blog is set up and decently secure. You can now access and edit it by going to [your site URL]/ghost whenever you want.

If you were reading this and saying to yourself “I’m only here for Ghost! I don’t need to be told how to configure DNS or run a Linux terminal! I’m an experienced web developer!” then maybe you should get in touch with our team at CodeClouds. We specialise in web development and creative design. Because we’re always growing, we’re always hiring and currently plenty of software trainee jobs in Kolkata available. We’d love to talk to you and see whether you’re a good fit for the CodeClouds family.
Similar Reads
How can we help?
Tell us about your inquiry and we’ll get back to you as soon as we can.